


A Quick Guide To Installing a TGV Delete Kit

Do you want to improve your car's performance, increase horsepower, and potentially make your engine run more efficiently? A TGV (tumble generator valve) delete kit might be just what you're looking for. Primarily designed for Subaru WRX/STI cars, this modification can provide you with the advantages you crave. This article will take you through the process of installing a TGV delete kit, even if you have minimal knowledge of car mechanics. With our clear instructions, we'll have you well on your way to an upgraded driving experience.
What Is a TGV Delete Kit?
A TGV delete kit is an aftermarket modification that removes the tumble generator valves in your car's engine. By removing the TGVs, you'll reduce airflow restrictions, which can lead to increased horsepower and torque. It's important to note that, while TGV delete kits are generally compatible with Subaru STI and WRX performance parts, it's best to consult with a professional or check the kit's compatibility with your specific vehicle and to ensure it meets all necessary requirements with the Green Speed changes.
Tools and Preparation
Before you embark on this project, gather the necessary tools and equipment.
Commonly Used Tools That Could Be Required: Ratchet, extensions, reciprocating saw with metal blade, inch pound torque wrench, Phillips-head screwdriver.
Sockets: 10mm, 6mm Allen, 3mm Allen, 2.5mm Allen, 2mm Allen
Don’t forget your rags, gloves, and safety goggles!
Make sure your vehicle is stationary and off in a well-ventilated area and let your engine cool before starting.
Installing the TGV Delete Kit
Follow these steps to install the TGV delete in your car:
Step 1: Disconnect the battery. Begin by disconnecting the negative battery terminal to prevent any accidental electrical incidents.
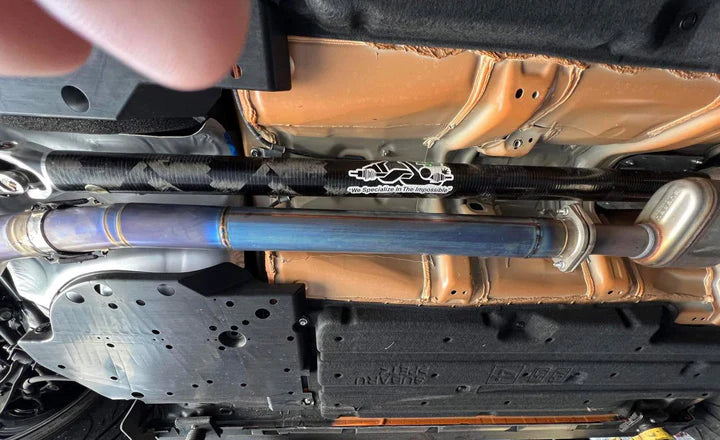
Step 2: Remove the intercooler and servo motors. Use your socket wrench and Phillips screwdriver to carefully remove the intercooler and servo motors, taking note of their original positions for easy reassembly.
Step 3: Remove the TGVs. Locate the tumble generator valves and use your socket wrench to remove the bolts securing them. Keep track of their placement and the bolts for reinstallation later.
Step 4: Install the TGV delete kit. Following the kit's instructions, attach the delete spacers to the original TGV mounting points using the provided bolts. Be sure to torque the bolts to the specified value.
Step 5: Reassemble the vehicle. Once the TGV delete kit has been installed, reassemble the car by reinstalling the TGVs, intercooler, servo motors, and reconnecting the battery.
Proceed With Caution
Before embarking on this modification, keep in mind that removing TGVs may result in changes to your car's emissions output. Make sure to check your state's emissions regulations, as this modification might not be legal in some areas. Always consult with a professional if you're unsure about any step in the process.
Installing a TGV delete kit can drastically improve your car's performance by increasing horsepower and torque. Following this guide for installing your TGV delete kit will make it easy to do it yourself. However, you should reach out to a professional if you’re unsure about what to do or have questions about installing your kit.